Featured Post

Custom Homecoming Overalls closed 2019

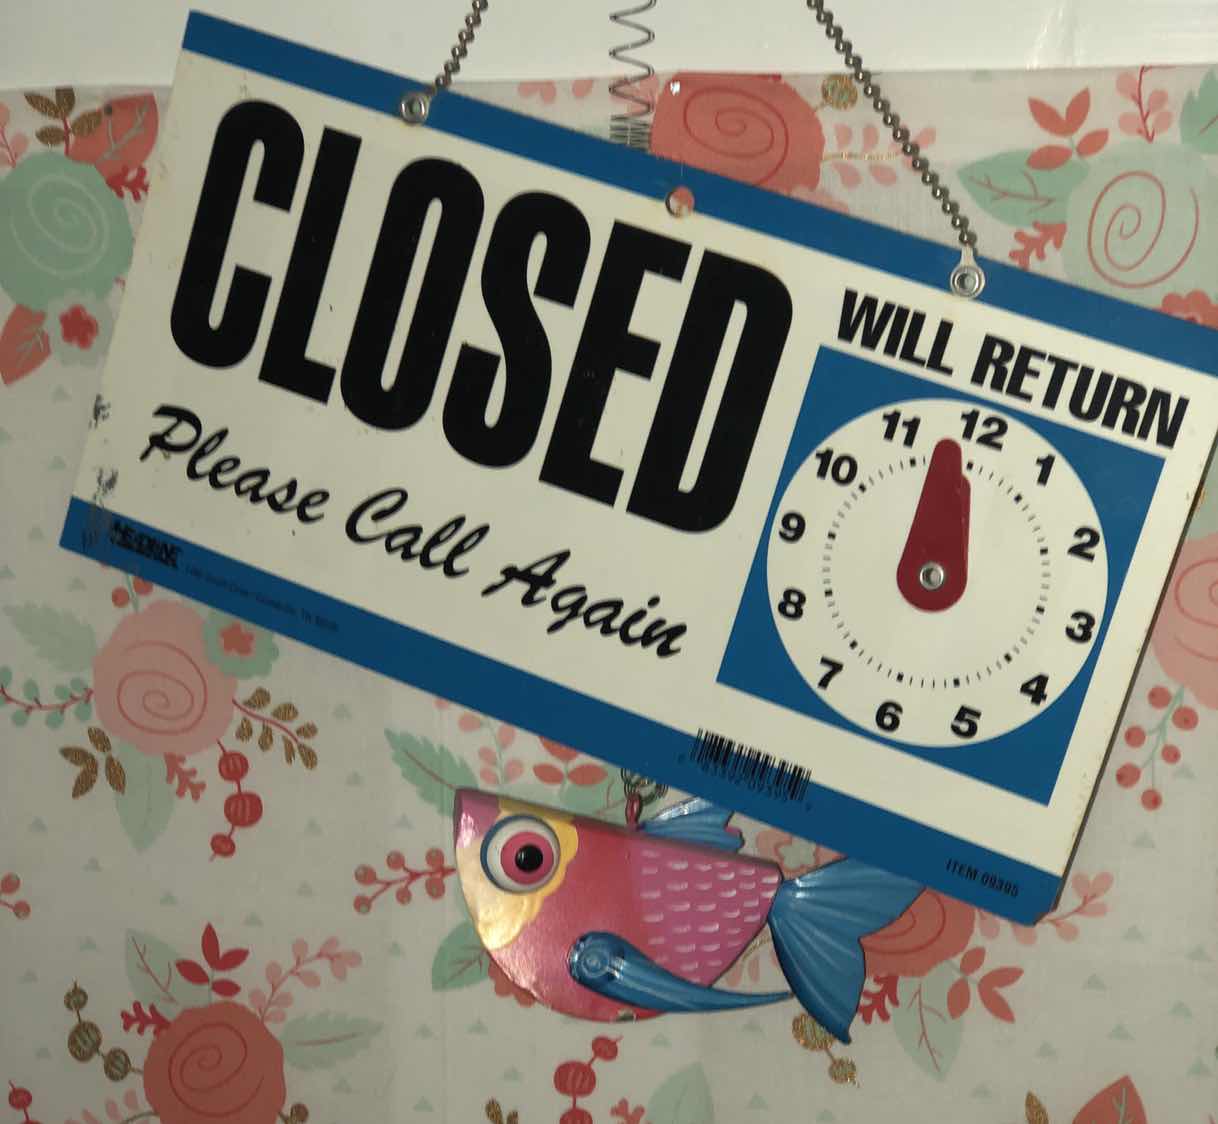
Custom Homecoming Overalls will be closed for the 2019 season. I am in the process of making studio changes and revaluation of my business. ...

Tuesday, June 16, 2009

I Gave Up Painting For Quilting ~ Part 2

While the quilt was getting quilted, I finished making the binding. Now, quilters, mind you, I don't traditionally bind my quilts. Hereis how I made this particular binding.
I started with more of the 5inch squares I had left over from the quilt. I decided on a pattern, and started sewing one long line of squares.
((Pardon the burnt starch on my ironing board. I know. It looks disgusting.))
The long strip of squares has to be ironed into the shape I need it in so it will fit as an easy casing over the edges of the now triple layer quilt.
First, I iron it in half. Then I go back to the beginning and open up the binding and then bring the edges to the inside. Iron firmly.


Photobucket


Photobucket

Fold over and match the edges. Iron. Starch, iron again.


Photobucket


Photobucket

Wrap the binding around the edge of the quilt and start sewing!! I am not a pin user.... But most people will pin the binding down before sewing. I find that step time consuming and the pins always get in the way. My machine likes to eat them.

Photobucket

I put *after market* loops on the back in case Allison wanted to hang the quilt in the baby's nursery. These have their own stitching, so they may be removed so the quilt may be used.

Photobucket


Photobucket

Mmmmmmmmmm.
Freestyle, stipple quilting.
Yummy enough to eat!

Photobucket

This is a great shot of the tuxedo pin tucks from Grammy's shirt.

Photobucket


Photobucket

My friend wanted a little dedication on the back.
She came up with, "Wrapped in Grammy's Arms".
I embroidered that phrase on one of the sleeves from the shirt.
Fitting, eh? Even though, once complete, you would never know. I do, my friend does and I am sure Allison's little man will grow up knowing it as well.

Sherrys Quilt
Welp, there it is.
I also made a smaller, crib sized quilt, but I tied it.


Photobucket


Photobucket


Photobucket


Photobucket

Extra fabric = Extra stuff


Photobucket


Photobucket


Photobucket
Hopefully, I will be getting some pictures from the baby shower and the new nursery.....
*HINT-HINT*

Monday, June 15, 2009

I Gave Up Painting For Quilting ~ Part 1

I have been sitting on this project for a while... Keeping quiet for a couple of months while I work on it in secret.
Now, that the quilt(s) are complete, I can share the story. Also, in the nine years I have been sewing, I have never documented a project from beginning to end. I tried to this time.... I got most of it. I did not get any pictures while the quilt was actually getting quilted at Quilt-N-Sew. Bad timing.
The story behind this Memory Quilt:
A good friend of mine has 2 daughters, Allison and Annie. Both girls and the Mom are attorneys. Allison married Shelby about 15 years ago. Shortly after that, Shelby's Mom passed away after a river rafting trip of an unknown disease. It was VERY unexpected and still undiagnosed. The day of her Memorial Service, Shelby's Dad dropped all of her clothing off at a second hand store.
Well.... My friend wanted a piece of her clothing to save... So one of HER friends spent a couple days going through all the stores merchandise until she finally came up with a baby blue shirt of Shelby's Mom!!!
This shirt was cleaned, pressed and then stored out of sight, out of mind for NINE years in the back of the bottom drawer....
Here is the shirt before I started cutting. I really liked the pin tucks down the front, kinda like a tuxedo shirt. When added to the quilt, it gives dimension and interest. You all know how I enjoy interest, texture and dimension in my work. LOL


<span class=Photobucket" border="0">


<span class=Photobucket" border="0">


<span class=Photobucket" border="0">


So now I kinda wanna share HOW I make quilts. Just keep in mind that I am self taught and I take or make shortcuts. I just wing it, I guess. If any of you reading this are REAL quilters, please do not discipline me. I do the best I can. :0)


<span class=Photobucket" border="0">
All the supplies and tools I would be working with. Including a published book of short stories and poems pulled together after being discovered on Grammy's computer.


<span class=Photobucket" border="0">
First, I had to carefully cut the main attraction of this quilt into perfect 5" X 5" squares. The buttons had to go, as well as the buttonholes.

<span class=Photobucket" border="0">

I use my straight edge and rotary cutter to get them perfect.


<span class=Photobucket" border="0">
After cutting a 5 inch strip of fabric, I then line that strip up and take off the selvage and cut at 5 inch intervals to make 5 inch squares. Just basic.


<span class=Photobucket" border="0">


<span class=Photobucket" border="0">


<span class=Photobucket" border="0">

I love my cutting mat, straight edge and rotary. I used to cut by hand and none of my squares would match. LOL Not only that, but it was very time consuming.

Once all my squares are cut and stacked, I can start making a pattern. I like to choose which fabrics compliment each other as well as those that conflict, or add depth. Making sure the balance of the finished product is right is almost as time consuming as making it.
Here is the grid system I use when doing my layout. It allows me to see which fabrics will touch and it looks like a mini version of the finished product.

<span class=Photobucket" border="0">


<span class=Photobucket" border="0">


<span class=Photobucket" border="0">

Once satisfied with the layout, I stack each row and then stack them. One little neat stack of 5 inch squares!!

<span class=Photobucket" border="0">
I love this pic.

<span class=Photobucket" border="0">
Starting with the first row, I sew one strip of squares together, always with right sides together. Sometimes I used my serger, but this time I wanted to be sure my seams were all exactly 1/4 inch, and durable. I don't always trust my serger for strength like I do my New Home digital machine. Everyone has their preferences.

<span class=Photobucket" border="0">
I line up my finished strips, or rows, as I call them. When all of the rows are complete, they will be stacked in opposite order with the bottom row on the top.
Don't forget to iron all seams flat, or the quilt will end up with puffy squares instead of flat ones.

<span class=Photobucket" border="0">

I lay the next row to be attached face down over the bottom row, lining up the center square, and stitch together using a 1/4 inch seam.
<span class=Photobucket" border="0">


<span class=Photobucket" border="0">


<span class=Photobucket" border="0">

Once all rows are together, I iron from the back to make the seams flat, then I trim away all the loose threads and strings to make the back pretty. :0)
<span class=Photobucket" border="0">
Almost done with the top!!! Can smell the finish line!!
Since you can never be perfect, the edges of the quilt need to be evened. Fold the top in half and trim the edges to match.
((The next step is not pictured))
To finish the top, I used a light weight denim that I bleached a light blue to match the shirt. I cut 4 - 3inch strips and attached them to the perimeter of the patchwork to frame up, or contain the inside design. I always feel that a quilt looks like it would just go on and on if it were not contained with that little piece of framing. So, you will find that all my quilts are framed in just a little bit, so they look finished.

<span class=Photobucket" border="0">

Done for the day!!!
I gathered up my quilt top, my batting and the backing to get over to the quilt shop. They will layer all three parts and use a large machine to sew all three together, making this quilt an indestructible piece. It will last forever, through wash after wash and can be handed down through many generations in its new family.

Monday, April 27, 2009

Work in Progress

Photobucket


I may never finish this project, LOL But I figured I could share where it is now.
The kids room.
Not a huge room, so organization and *housekeeping* is a must.
First the theme. Surfing. The beach. California. All things warm and sandy. The kids and I all share the same kinship with salt water and sunburns, so the choice of theme was unanimous.
Photobucket

Photobucket

I started with the walls. Palm trees, shades of blue... I had one obstacle.. a wall with tons of "graffiti" type paint done with enamel paint pens. I had to cover with a dark gloss (kids wanted black, I chose a nice dark chocolate). This wall is free to them to decorate with posters, signs, junk, art. The TV is on this wall too, on a dresser I just recently moved in. It still needs a paint job, along with the other dresser.
Photobucket


My next venture was the closet. I gutted it and painted it a light lime green. Added white wire shelving and some bins on rollers. Everyone has their own space and places to keep their favorite things. The curtains to cover the closet are from a flat sheet I got at Ross. I like that they are white so they add a lightness to the room. And the surfboards, of course, compliment the decor.
Photobucket

Photobucket


I used another for the 2/3 curtain on the window and topped that off with a grass hula skirt. (Garden Ridge Pottery was having a 50% off sale on all party stuff!! So I got a bunch of cool little things like the skirt for pennies!!)
Photobucket

Photobucket


The rest of the surfboard sheet was cut up and I used it in the two queen sized quilts I made the girls and the matching pillow shams. I am happy that the sheets I paid like $25 for, have gone so far in this decor. If I had actually fond a fabric I liked, I wold probably spent $200-300 on it to get enough, and there wold have been lots of seams.
Photobucket

Photobucket

Photobucket


So, anyhow, the paint on the furniture is fun and colorful. Each part is painted a different color, kind of like inside Babin's. (Babin's has a bunch of wood inside that was salvaged from New Orleans, and it is painted fun bright colors and adds personality.) I still have to finish the two dressers, like I said before, and I still have parts of the kids beds to touch up.
I forgot to mention, I ripped up the carpet and painted the concrete a fabulous cerelian blue to mimic water from the prettiest beaches.
Photobucket


Hows THAT for Krafty? :0)

I know, I know.....

I have abandoned my post as Blogger for over a month now... Geeeeeezzz
Here is my excuse:
I got nothin'.
Nada.
Zip - Zilch. LOL
Update on me: After a bout of walking pneumonia and yet another round of antibiotics, I am FINALLY beginning to feel more like Trevor again. (Yea!)
Since closing the Pink Zebra, I have not been creating. I have been avoiding the sewing machines staring at me from my dining room table. Except for the curtains and quilts I made for the girls bedroom, I have made nothing. The CPSIA crap just totally did me in. It killed my spirit and my *want* to make anything for the little ones. And I hate it (actually, I hate the thoughtless authors of the darned law!)
I have been given a quest!! I have a secret project to make for a friend.... She saved some things and I have been given the job to create something new from something blue... I can hardly wait to share, but I have to keep the secret for a bit longer.
As so many of my friends on Facebook reminded me last week, I have celebrated yet another birthday. Woot!! Thanks for all the shout outs from friends past and present. I had a fabulous lunch at SaltGrass with my dear friend, Marsha. MMmmmmm... with a slice of cheesecake for desert. Yummy!!
Other than that, my friends, work, clean the house, hang with the dog. I have just been laying low. Hangin' tight and working at Babin's pretty much every night.
I do try to be home on Modays for Dancing with the stars and Thursdays for SurvivorNight.
Here is a shout out to all my old PZB customers: I jst dropped off all my left over stock at the very same address and old house on First Street, but theres a new owner in town: Kathryn of the Childrens Carrosel. She sells some consignment clothing (new and used) hnadmade cloth diapers and tons of toys. Shes even got strollers, highchairs, carseats. You name it. She is so packed in there she will be moving to a much larger location in a month. I will keep you notified as she will have a special KraftyMommas section jst for them new babies!! Ye-ah!!
Yes, KMB will be making a new baby line that is completely CPSIA compliant.
You are welcome to leave me any ideas you have for the new line!! I.E. some colors, appliques or themes you would like to see!! I am happy yo ablige!\
So, my friends and followers, thanks for taking time ot of your day to catch up with me today. I look forward to getting my blogging back on and getting my crazy world back to a normal pace.
Cheers!!
:0) Trevor